Alcohol Ink Picture Frame
Alright, so I know I've been making a lot of Alcohol Ink projects, but they are just so darn much fun (and they are usually pretty quick). After I spray painted some picture frames to give them new life a couple of weeks ago, I thought--hey I bet I could alcohol ink over silver spray paint....and yep, I was right, you totally can. I grabbed a flat photo frame from my stash to give new life to. This one is from the 90s. It has flowers painted all over it and is a lovely shade of neon yellow-green. Needless to say, it didn't really go with anything in my decor.

So I grabbed the same box and spray paint from the last silver spray paint project and got to work. I taped up the glass on this one instead of taking it off the frame as it's a shadow box frame. The glass is held in place with wooden strips inside the frame. I didn't feel like ripping the whole thing apart, so I taped the glass.

The finish on this frame is odd. It's painted a bright color, and then hand painted flowers over the top of that, and then some sort of lacquer or sealer on top of the flowers, so when I spray painted it, the finish did some weird things. I needed a few coats just to cover the flowers (as you can see above), and then as I applied more paint, the finish started pock marking. Then when you add more spray paint you get drips and ripples, but I got it as smooth as I could and let it dry for a few days for good measure.

Next, I laid the frame down on my craft mat (I peeled off the tape to make sure that it would come off without peeling the paint off the edges and that a bunch didn't bleed through on the glass, I just taped it back up again when I was ready to ink it up) and got my alcohol inks out.

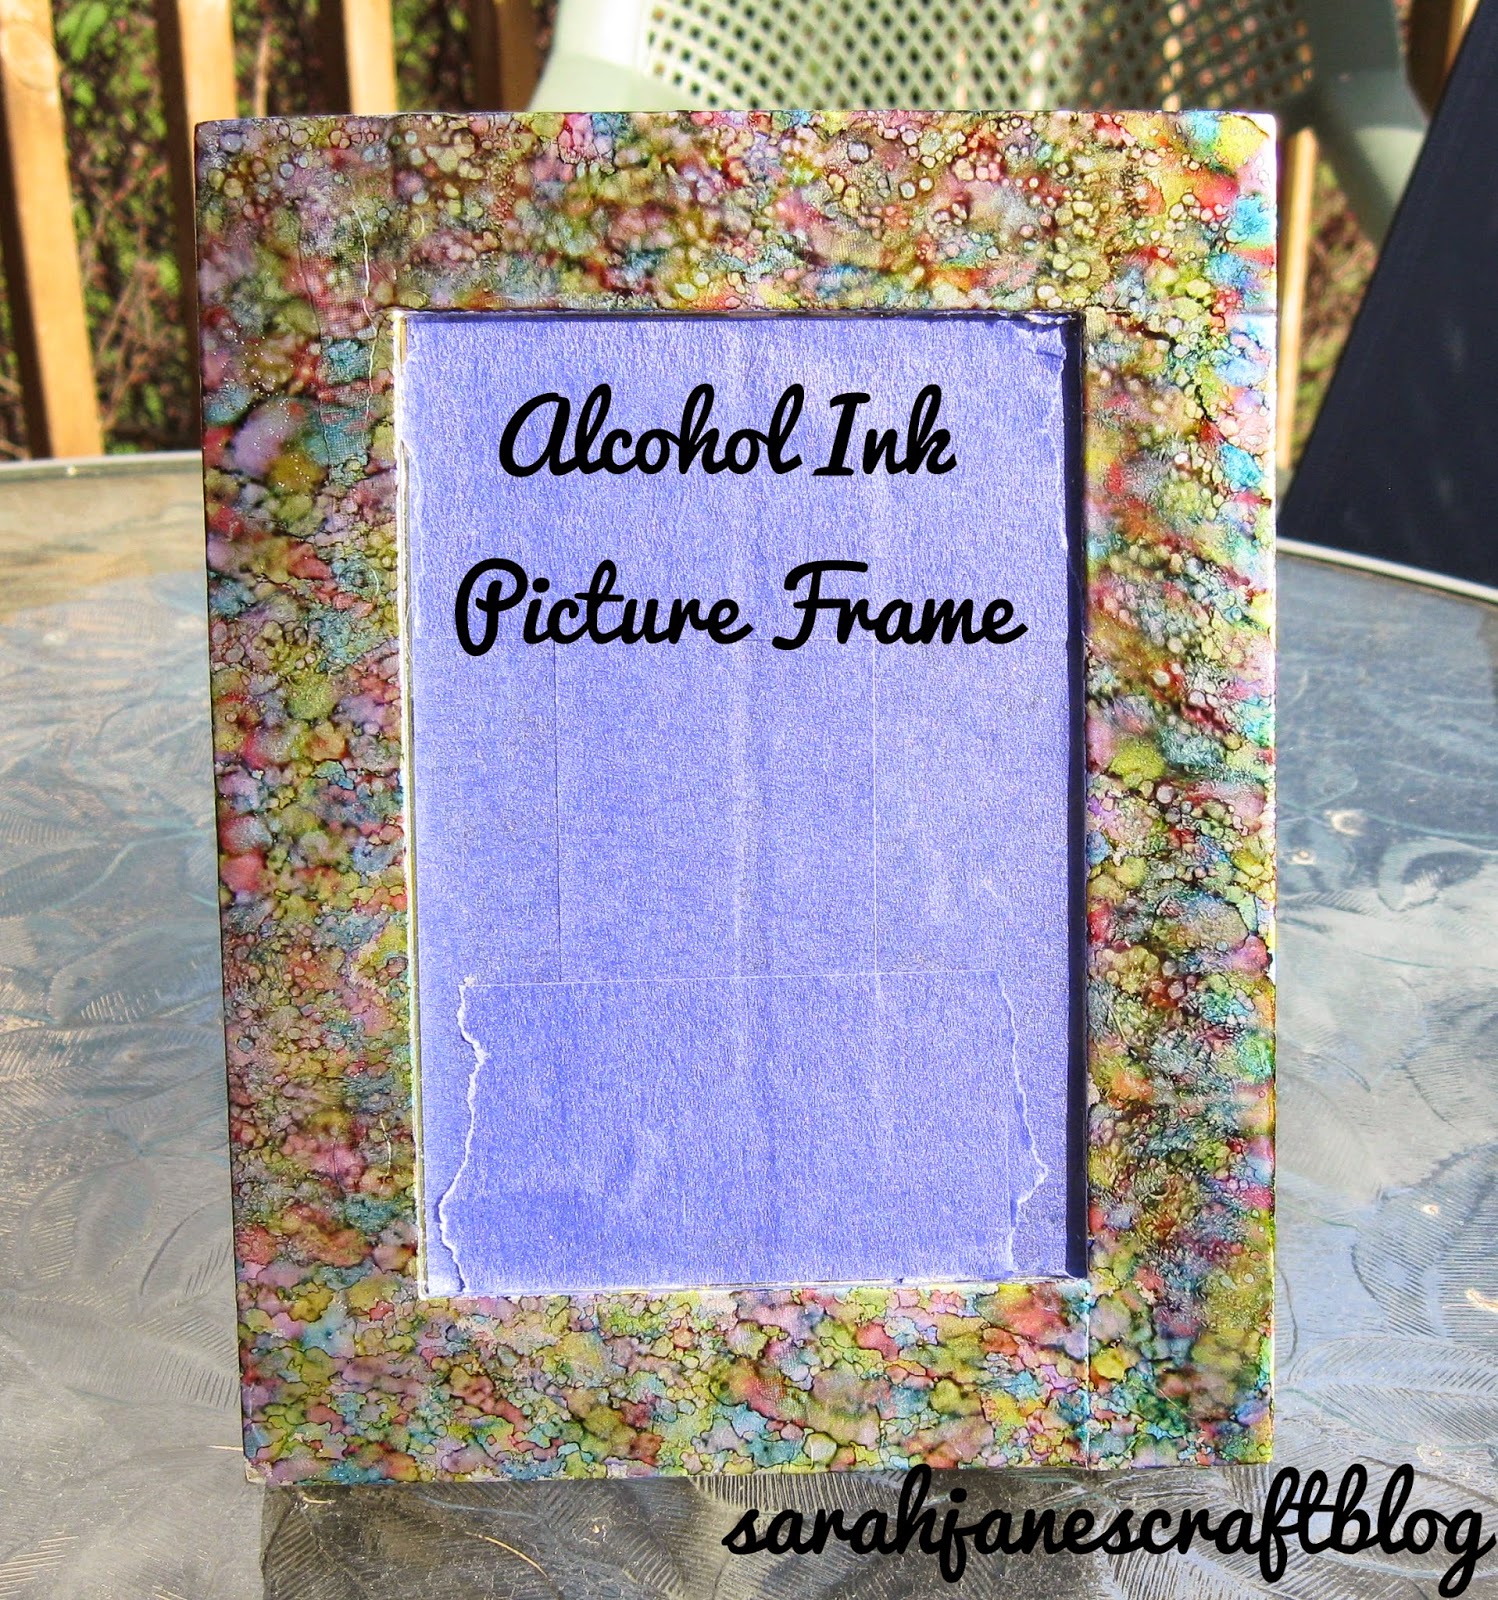
Above is a photo of what my applicator looked like as I started inking. I knew the inside of the frame was still lime green, so I wanted to use a some green in the alcohol inks so that it would coordinate. I stamped around the whole frame with my first collection of colors.

I added more ink to the applicator and one different color to get some more dimension, and stamped around it again. I wanted a fairly stippled look, so I kept on tapping my felt applicator over the colors without adding any additional ink until I got the look I was going for. I let it dry for a bit and went about finding a photo.

The task of finding a photo was harder than I thought. The frame is so busy that I think I'll need to switch to a black and white photo or put a white mat in the frame to break up the color, but I love the way the frame came out and even though the paint finish wasn't perfect, the ink hides most of the flaws. I definitely proved the concept and can't wait to decorate another photo frame.


Comments
Post a Comment